Mother's Day
Celebrate Mother's Day with scent-filled gratitude. Discover elegant offers on our most-loved aroma diffusers, scented candles, and fragrance oils—thoughtfully curated to make her space as beautiful and calming as she is.
Use code: morsdag2025 for 15% off!
Note: When you choose any 3 products, you’ll get an extra 10% off your entire order.
The campaign is valid until May 26th.
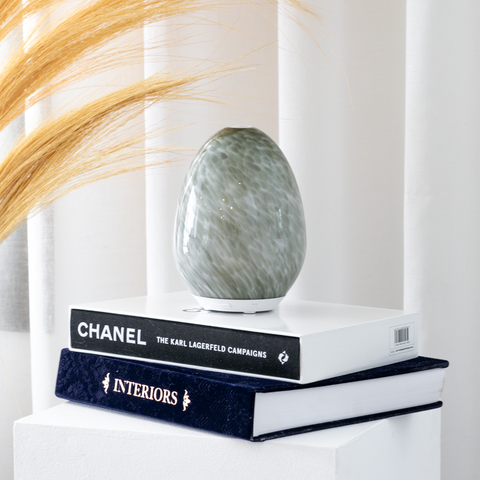
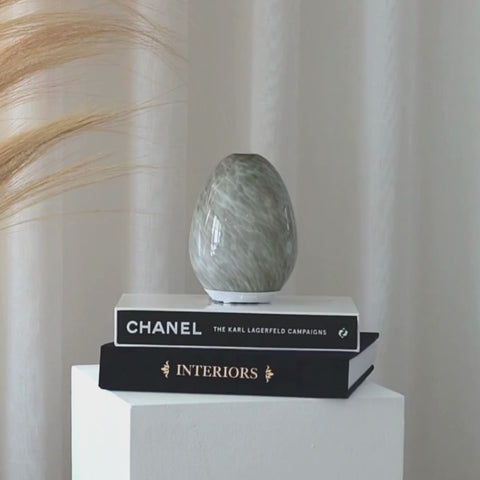


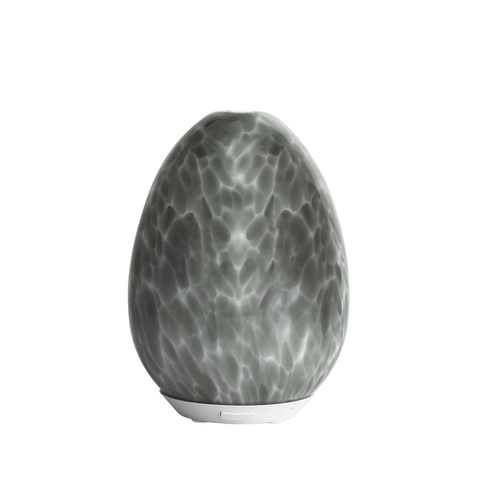

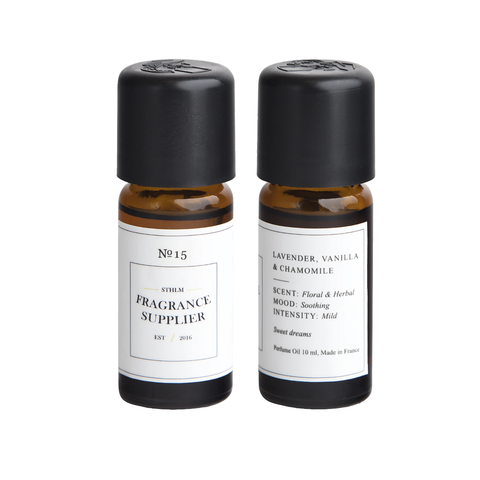
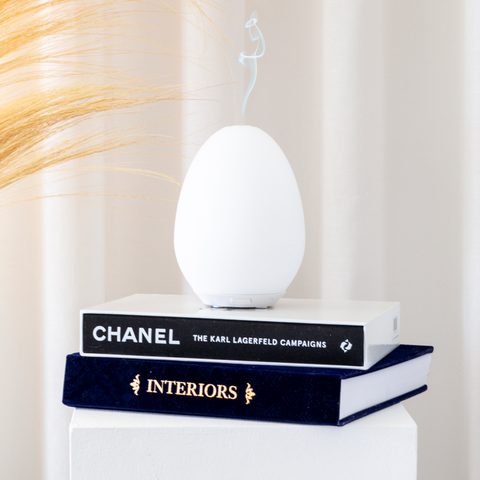
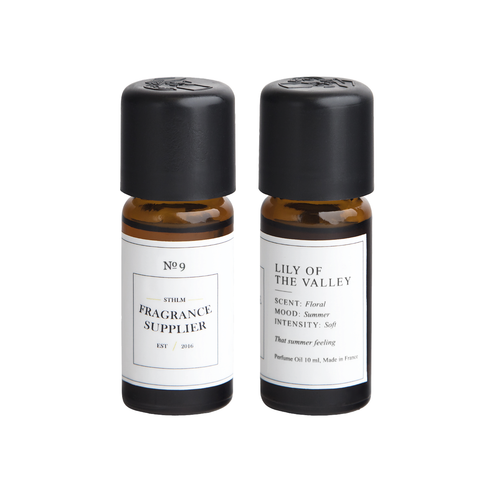
Aroma Diffuser - Marble Edition
Elevate your space with Stockholm Fragrance Aroma Diffuser | Marble Edition. Featuring a sleek marble-inspired design, this diffuser combines timeless elegance with modern functionality. It disperses a soothing mist infused with your favorite fragrance oils, creating a serene and luxurious atmosphere.
The Marble Edition Aroma Diffuser features a versatile programmable LED lighting system. Choose between an automatic color-changing mode, a fixed light setting, or no light at all. Enjoy fragrant mist with or without the lighting, tailoring the ambiance to your preference. Combining functionality with elegance, this lifestyle product enhances both your space and your senses.
Mother day SALE
15% off